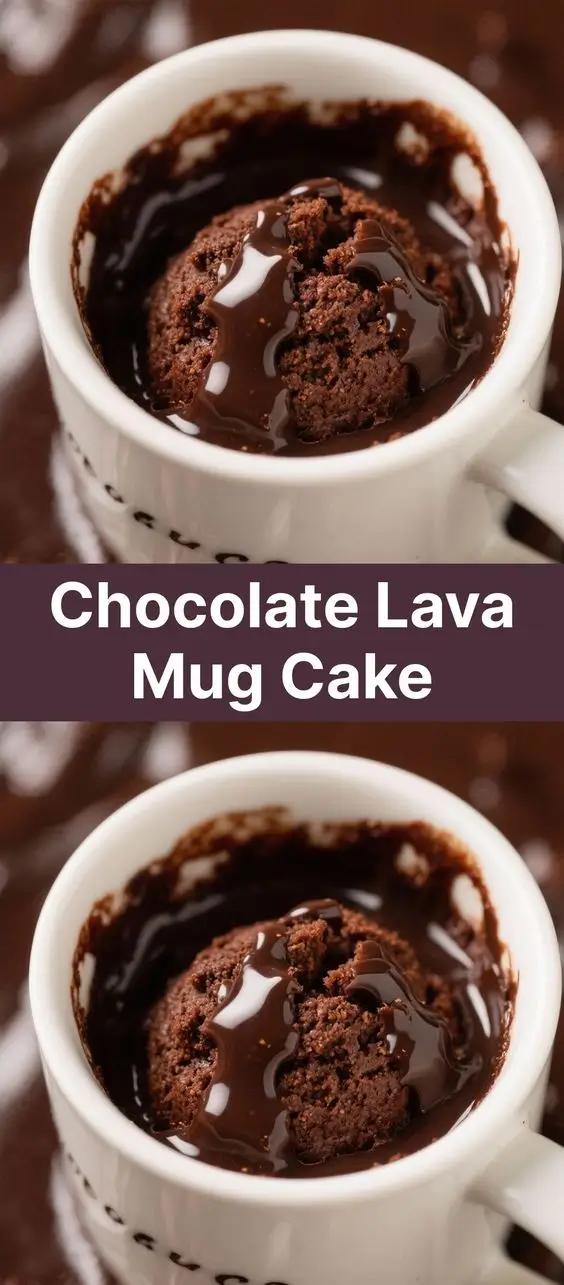
Chocolate Lava Mug Cake: The Ultimate Single-Serving Dessert
The chocolate lava mug cake is a modern culinary marvel—perfect for those sudden dessert cravings that demand immediate satisfaction. With its rich, molten center, tender crumb, and ease of preparation, this single-serving treat has taken kitchens around the world by storm. Whether you’re baking solo, avoiding waste, or simply want a warm chocolate experience in under 5 minutes, this indulgent delight delivers every time.
The History of Chocolate Lava Mug Cake
The story of the chocolate lava mug cake begins with its more formal cousin—the chocolate fondant or chocolate lava cake. Originally created in the late 20th century, the exact origins are often credited to French chef Jean-Georges Vongerichten in the 1980s. Legend has it that a slightly underbaked chocolate cake turned into a sensation when diners discovered the gooey, molten center. This happy accident revolutionized dessert menus globally.
Fast forward to the 2000s, as microwave ovens became ubiquitous and people sought faster, simpler ways to enjoy gourmet-style desserts at home. The concept of the individual chocolate lava cake was reimagined into a mug-based version. Blogs, food networks, and social media platforms like Pinterest and YouTube exploded with variations of the “mug cake”—a batter mixed and baked directly in a coffee mug using a microwave. The chocolate lava mug cake quickly became one of the most popular iterations, beloved for its speed, minimal cleanup, and decadent results.
Today, it’s not just a kitchen hack—it’s a cultural phenomenon. From dorm rooms to five-star hotels, the chocolate lava mug cake symbolizes instant gratification done right. Its evolution reflects broader trends in food culture: convenience meets indulgence, minimalism meets luxury, and home cooking embraces accessibility without sacrificing flavor.
Ingredients Breakdown: What Makes It Work
The magic of a chocolate lava mug cake lies in the careful balance of ingredients that create both structure and a soft, flowing center. Let’s break down each component and its role:
- Flour (All-Purpose): Provides structure. While only a small amount is used, it helps bind the cake and prevents it from turning into a puddle. Gluten development is minimal due to quick cooking, yielding a tender texture.
- Sugar (Granulated): Adds sweetness and aids in browning. It also helps retain moisture and contributes to the cake’s delicate crust.
- Cocoa Powder (Unsweetened, preferably Dutch-process): The soul of the cake. High-quality cocoa delivers deep chocolate flavor. Dutch-process cocoa is less acidic and offers a smoother, richer taste compared to natural cocoa.
- Baking Powder: A leavening agent that gives the cake a slight rise and airy crumb. Too much can cause overflow; too little results in density.
- Salt: Enhances all flavors, especially chocolate, by balancing sweetness and adding depth.
- Butter (Unsalted): Adds richness, moisture, and flavor. Melted butter integrates smoothly and helps create a fudgy texture.
- Egg (Small or Medium): Acts as a binder and adds structure through protein coagulation. It also contributes to lift and emulsification.
- Milk or Cream: Thin the batter slightly and improve mouthfeel. Cream yields a richer result; milk keeps it lighter.
- Vanilla Extract: Boosts aroma and complements chocolate with warm, floral notes.
- Dark Chocolate (Chopped or Chips) – Optional but Recommended: Intensifies chocolate flavor and enhances the molten center. When placed in the middle, it becomes the lava core.
- Mini Chocolate Chips or Chocolate Paste – For Lava Center: Strategically placed to remain unmelted during short baking, creating the signature ooze.
Each ingredient plays a crucial role, and substitutions should be made thoughtfully to preserve the cake’s integrity.
Step-by-Step Recipe: How to Make Chocolate Lava Mug Cake
Follow these detailed steps for a flawless chocolate lava mug cake every time. Precision matters—even small deviations can affect texture and doneness.
- Gather Your Tools and Ingredients:
You’ll need:- One large microwave-safe mug (at least 12 oz capacity, preferably ceramic)
- Small mixing bowl and whisk (or fork)
- Measuring spoons and cups
- Spurtle or silicone spatula
- Butter knife (for loosening cake if needed)
- Preheat (Sort Of):
While there’s no oven preheating, ensure your microwave is clean and functioning properly. Set it to high (100% power). If your microwave has hot spots, consider rotating the mug halfway through. - Prepare the Mug:
Lightly grease the inside of the mug with butter or non-stick spray. This ensures easy removal if desired (though many eat straight from the mug). - Mix Dry Ingredients:
In a small bowl, combine:- 4 tablespoons all-purpose flour
- 3 tablespoons granulated sugar
- 2 tablespoons unsweetened cocoa powder (Dutch-process preferred)
- ¼ teaspoon baking powder
- A pinch of salt (about 1/8 tsp)
Whisk thoroughly to eliminate lumps and ensure even distribution.
- Add Wet Ingredients:
To the dry mix, add:- 3 tablespoons milk (whole milk or cream for richness)
- 2 tablespoons melted unsalted butter (cooled slightly)
- 1 small egg (lightly beaten)
- ½ teaspoon vanilla extract
Mix gently until just combined. Do not overmix—small lumps are okay. Overmixing develops gluten and leads to toughness.
- Transfer to Mug:
Pour the batter into the prepared mug. Fill only about ⅔ to ¾ full to prevent overflow during cooking. - Create the Lava Core:
Press 1 tablespoon of chopped dark chocolate (60–70% cacao) or chocolate chips into the center of the batter. Alternatively, make a small well and pour in 1 teaspoon of chocolate ganache or Nutella for extra decadence. This will remain molten while the surrounding cake sets. - Microwave:
Place the mug in the center of the microwave. Cook on high for 75 to 90 seconds, depending on your microwave’s wattage.- For 700–800W microwaves: 85–90 seconds
- For 900–1000W microwaves: 75–80 seconds
- For 1100W+: Start at 70 seconds and adjust
The cake is done when the top looks set but still slightly soft in the center. The sides should be pulling away slightly, and a light jiggle is expected—but no liquid should splash out.
- Rest Before Serving:
Let the mug cake sit for 1–2 minutes after microwaving. This allows the internal temperature to stabilize, the structure to firm slightly, and the lava center to become safely edible (not scalding). - Serve Immediately:
Top with powdered sugar, whipped cream, vanilla ice cream, fresh berries, or a drizzle of caramel. Serve warm with a spoon—and maybe a napkin, because it’s gloriously messy.
Tips for the Perfect Chocolate Lava Mug Cake
- Use the Right Mug: A wide, deep ceramic mug works best. Avoid thin glass or plastic, which may crack or melt. Ensure it’s labeled microwave-safe.
- Don’t Overcook: This is the #1 mistake. Over-microwaving turns the lava center into a fully baked cake. Stick to the recommended time and adjust based on your appliance.
- Check Wattage: Most recipes assume 1000W. Lower-wattage microwaves may need +10 seconds; higher ones may need less. Keep notes for next time.
- Room Temperature Ingredients: Especially the egg and milk. Cold ingredients can lead to uneven cooking and denser texture.
- Whisk Batter Off-Mug: Mixing directly in the mug creates uneven blending and pockets of dry ingredients. Always use a separate bowl.
- Double-Check Leavening: Use fresh baking powder. Expired leavener results in flat, dense cakes.
- Center the Chocolate: Push it deep into the middle so it’s fully surrounded by batter. Off-center placement can cause leakage or uneven melting.
- Let It Rest: Skipping the 1–2 minute rest can lead to burns and a runnier consistency than intended.
- Scale Up Carefully: This recipe isn’t easily doubled in one mug. For multiple servings, use separate mugs spaced apart in the microwave.
- Experiment with Times: Keep a log. Microwaves vary, and altitude, humidity, and voltage fluctuations can affect results.
Variations and Customizations
Once you’ve mastered the classic version, let creativity shine. Here are popular twists to elevate your mug cake game:
- Peanut Butter Lava: Replace the chocolate core with 1 tbsp peanut butter or swirl in before cooking. Add 1 tsp peanut butter to the batter for extra flavor.
- White Chocolate Raspberry: Use white chocolate chips in the center and fold 1 tbsp fresh or frozen raspberries into the batter.
- Cookie Dough Surprise: Hide a small ball of edible cookie dough in the center for a gooey, buttery contrast.
- Peppermint Crunch: Add ⅛ tsp peppermint extract to the batter and top with crushed candy canes after cooking.
- Gluten-Free Version: Substitute all-purpose flour with a 1:1 gluten-free blend (like Bob’s Red Mill). Ensure cocoa and other ingredients are certified GF.
- Vegan Lava Mug Cake: Replace egg with 1 tbsp ground flaxseed + 2.5 tbsp water (let sit 5 mins), use plant-based milk and vegan butter, and ensure chocolate is dairy-free.
- Protein Boost: Add 1 scoop (10–15g) of chocolate protein powder. Reduce flour by 1 tbsp to compensate. Note: texture may be denser.
- Alcohol Infusion: Add ½ tsp espresso liqueur, Baileys, or Kahlúa to enhance depth. Alcohol mostly evaporates during cooking.
- Salted Caramel Core: Inject 1 tsp homemade or store-bought salted caramel into the center before microwaving.
- S’mores Style: Place a small piece of milk chocolate and a graham cracker square in the center. Top with mini marshmallows before and after cooking.
- Spiced Chocolate: Add a pinch of cinnamon, cayenne, or nutmeg for a warm, complex profile.
- Nutella Swirl: Swirl 1 tsp Nutella into the batter and add another ½ tsp in the center for double impact.
Health Considerations and Nutritional Value
While undeniably indulgent, understanding the nutritional profile helps you enjoy this treat mindfully.
Nutritional Breakdown (Approximate per serving):
| Nutrient | Amount |
|---|---|
| Calories | ~380–420 kcal |
| Total Fat | 18–22g |
| Saturated Fat | 10–12g |
| Cholesterol | 85–100mg |
| Sodium | 150–200mg |
| Total Carbohydrates | 55–60g |
| Dietary Fiber | 3–4g |
| Sugars | 35–40g |
| Protein | 6–8g |
Health Notes:
- High in Sugar and Saturated Fat: Best enjoyed occasionally, especially for those managing blood sugar, heart health, or weight.
- Low in Fiber and Micronutrients: Not nutritionally balanced. Pair with fruit or a side salad if making it part of a meal.
- Gluten and Dairy Content: Contains both unless modified. Many alternatives exist for allergen-sensitive diets.
- Egg Safety: Uses raw egg, but microwaving typically heats it to safe temperatures (>160°F). Pregnant individuals or immunocompromised persons may prefer stovetop or oven versions for better control.
- Portion Control: One mug = one serving. Unlike traditional cakes, there’s no temptation to slice a second piece!
Healthier Modifications:
- Reduce sugar by 1 tbsp or use coconut sugar.
- Use applesauce or mashed banana to replace half the butter.
- Opt for dark chocolate (70%+) to reduce added sugar and increase antioxidants.
- Add a spoonful of oats or almond flour for fiber and sustained energy.
- Top with Greek yogurt instead of ice cream for protein and probiotics.
Ingredients
- 4 tablespoons all-purpose flour
- 3 tablespoons granulated sugar
- 2 tablespoons unsweetened cocoa powder (preferably Dutch-process)
- ¼ teaspoon baking powder
- Pinch of salt (about 1/8 tsp)
- 3 tablespoons milk (whole, 2%, or plant-based)
- 2 tablespoons unsalted butter, melted
- 1 small egg, lightly beaten
- ½ teaspoon vanilla extract
- 1 tablespoon dark chocolate chunks or chips (for lava center)
Directions
- In a small mixing bowl, whisk together flour, sugar, cocoa powder, baking powder, and salt until well blended.
- Add milk, melted butter, beaten egg, and vanilla extract. Stir gently with a fork or whisk until just combined. A few small lumps are acceptable.
- Lightly grease a 12-ounce microwave-safe ceramic mug. Pour the batter into the mug, filling it about ¾ full.
- Press the chocolate chunks into the very center of the batter so they’re completely submerged.
- Microwave on high for 75 to 90 seconds (depending on microwave wattage) until the top appears set but the center remains soft.
- Allow the mug cake to rest for 1–2 minutes before serving.
- Optionally dust with powdered sugar, add a scoop of ice cream, or drizzle with caramel. Serve warm with a spoon.
FAQ
Can I bake this in the oven instead?
Yes! Preheat oven to 350°F (175°C). Use a ramekin instead of a mug. Bake for 12–15 minutes until edges are set but center jiggles slightly.
Why did my mug cake overflow?
Overfilling the mug or too much leavening. Also, some mugs are smaller than they appear. Stick to ¾ full and verify baking powder freshness.
Can I make it ahead of time?
Not really. The lava effect relies on immediate consumption. Reheating ruins the texture. However, you can prep dry ingredients in a jar and store them for up to 2 weeks—just add wet ingredients when ready.
Is it safe to eat with a raw center?
Yes. The surrounding batter reaches a safe temperature, and the egg cooks during microwaving. The center is molten, not raw.
Can I use cocoa mix or hot chocolate powder?
Not recommended. They contain sugar, milk solids, and stabilizers that alter texture and flavor. Use pure unsweetened cocoa powder.
Why is my cake rubbery or tough?
Overmixing develops gluten. Always stir minimally. Also, overcooking dries it out.
Can I freeze leftover mug cake?
Freezing is not ideal due to texture changes. This recipe is designed for immediate enjoyment.
What kind of mug should I use?
A standard 12–16 oz ceramic coffee mug labeled microwave-safe. Avoid metallic trims or cracks.
Can I double the recipe in a larger mug?
No. Microwaves cook from the outside in. A larger volume won’t cook evenly—edges will burn while center stays raw. Make multiple single servings instead.
How do I clean the mug afterward?
Soak in warm, soapy water for 10 minutes. The residue softens and wipes away easily. A non-abrasive sponge works best.
Summary
The chocolate lava mug cake is a lightning-fast, single-serving dessert that delivers a rich, molten chocolate center encased in a tender cake—all cooked in under 90 seconds. Perfect for impromptu cravings, small households, or anyone who believes happiness comes in a mug.