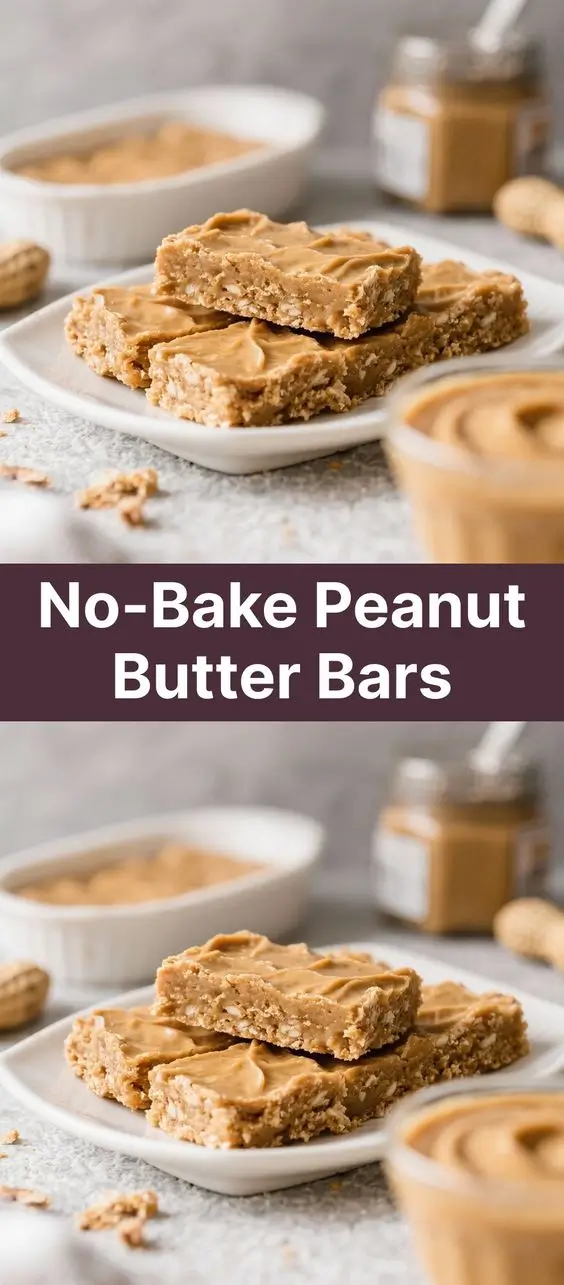
No-Bake Peanut Butter Bars: The Ultimate Easy Treat
Looking for a quick, delicious, and no-fuss dessert that satisfies your sweet tooth without turning on the oven? No-Bake Peanut Butter Bars are here to save the day. These decadent, creamy, and slightly crunchy treats require minimal ingredients, zero baking, and come together in under 30 minutes. Perfect for busy weeknights, last-minute potlucks, or satisfying midnight cravings, these bars are a staple in households across America. Whether you’re feeding a crowd or treating yourself, this recipe delivers rich flavor and irresistible texture with very little effort.
The History of No-Bake Peanut Butter Bars
No-Bake Peanut Butter Bars have roots that trace back to mid-20th century American home cooking, a time when convenience and resourcefulness were key in the kitchen. As processed foods like powdered sugar, margarine, and pre-made graham cracker crusts became widely available, homemakers began experimenting with quick, no-cook desserts that could be assembled with pantry staples. Recipes similar to today’s No-Bake Peanut Butter Bars started appearing in community cookbooks, women’s magazines, and promotional pamphlets from butter and peanut butter brands during the 1950s and 60s.
Peanut butter itself had already gained popularity in the United States thanks to George Washington Carver’s promotion of peanuts in the early 1900s and its adoption as an affordable, protein-rich food during wartime rationing. By the post-war era, peanut butter was a household staple, making it a natural ingredient for quick snacks and desserts. The combination of peanut butter, butter, powdered sugar, and graham cracker crumbs created a dense, sweet bar that didn’t require baking—ideal for summer months when ovens were avoided.
Over the decades, the recipe evolved with regional tweaks and family secrets, but the core concept remained unchanged. Today, No-Bake Peanut Butter Bars are beloved not only for their nostalgic charm but also for their adaptability—vegan versions, gluten-free options, and healthier swaps now make them accessible to nearly every dietary preference. They remain a go-to for school bake sales, holiday trays, camping trips, and quick homemade gifts.
Ingredients Breakdown: What Goes Into the Perfect Bar?
The magic of No-Bake Peanut Butter Bars lies in their simplicity. Each ingredient plays a crucial role in creating the perfect balance of sweetness, richness, texture, and structure. Let’s take a closer look at what goes into these delightful treats:
- Peanut Butter: The star of the show. Opt for creamy, unsweetened, and unhydrogenated peanut butter for the best flavor and consistency. Natural peanut butter (just peanuts and salt) works well, though it may result in a slightly oilier mixture. For a firmer bar, conventional brands like Jif or Skippy offer more stability due to added stabilizers.
- Butter: Unsalted butter is preferred so you can control the salt level. Melted butter binds the ingredients and adds richness. For a dairy-free version, use coconut oil or vegan butter.
- Powdered Sugar (Confectioners’ Sugar): This gives the bars their signature sweetness and helps solidify the mixture. Sift it first to avoid clumps and ensure a smooth texture.
- Graham Cracker Crumbs: These provide structure and a subtle honey-nut flavor. You can use cinnamon graham crackers for a spiced twist. Gluten-free graham crackers work perfectly for those avoiding gluten.
- Vanilla Extract: A splash enhances the overall flavor profile, adding warmth and depth.
- Salt: Even if using salted peanut butter, a pinch of sea salt balances the sweetness and elevates all the flavors.
- Optional Add-ins: Chocolate chips, chopped nuts, mini marshmallows, shredded coconut, or even a drizzle of melted chocolate on top can transform the basic bar into something extraordinary.
Each ingredient is chosen not just for taste but for functionality—creating a mixture that holds together firmly when chilled yet melts in your mouth with each bite.
Step-by-Step Recipe: How to Make No-Bake Peanut Butter Bars
Making No-Bake Peanut Butter Bars is incredibly straightforward. With just a few tools and minimal cleanup, you’ll have a batch ready in no time. Follow these detailed steps for foolproof results every time.
- Prepare Your Pan: Line an 8×8-inch or 9×9-inch square baking pan with parchment paper, leaving an overhang on two opposite sides. This makes it easy to lift the bars out once set. Lightly grease the parchment with non-stick spray or butter for extra security.
- Melt the Butter: In a medium saucepan over low heat, melt 1/2 cup (1 stick) of unsalted butter. Once fully melted, remove from heat.
- Add the Peanut Butter: Stir in 1 1/2 cups of creamy peanut butter until completely combined and smooth. The residual heat will soften the peanut butter and create a glossy, uniform mixture.
- Incorporate Sweetness: Gradually add 2 cups of sifted powdered sugar, stirring continuously. The mixture will thicken as you go. Be sure to break up any lumps for a smooth consistency.
- Add Flavor Enhancers: Mix in 1 teaspoon of pure vanilla extract and a pinch (about 1/4 teaspoon) of salt. Adjust salt to taste depending on your peanut butter’s sodium content.
- Fold in the Crumbs: Stir in 2 cups of graham cracker crumbs (about 12 full sheets crushed finely). Use a fork or spatula to combine thoroughly. The mixture should resemble wet sand and hold together when pressed.
- Press Into Pan: Transfer the mixture to your prepared pan. Use a flat-bottomed glass or measuring cup (lightly greased) to press it down evenly and firmly. Take care to compact the mixture well, especially in the corners, to prevent crumbling later.
- Chill Until Set: Refrigerate the pan for at least 2 hours, or until completely firm. For faster setting, place in the freezer for 45–60 minutes.
- Cut Into Bars: Using the parchment overhang, lift the block out of the pan. Place on a cutting board and slice into 12–16 bars or squares using a sharp knife. Wipe the blade between cuts for clean edges.
- Serve or Store: Enjoy immediately or store for later. Optional: Drizzle with melted chocolate or sprinkle with sea salt before serving.
And that’s it! No oven, no complicated techniques—just simple, satisfying goodness.
Tips for Perfect No-Bake Peanut Butter Bars Every Time
- Use Room Temperature Ingredients: Ensure your peanut butter isn’t cold from the fridge. If it is, let it sit out for 15–20 minutes or gently warm it before use.
- Sift the Powdered Sugar: Clumpy sugar leads to gritty bars. Sifting ensures a silky texture.
- Don’t Skip the Parchment Paper: It’s the easiest way to remove the entire slab cleanly. Foil can work in a pinch, but parchment is less likely to tear.
- Press Firmly: The harder you press the mixture into the pan, the better the bars will hold together. Think of it like making a crust for a cheesecake.
- Chill Thoroughly: Rushing this step leads to soft, crumbly bars. Patience pays off with clean slices.
- Sharpen Your Knife: A dull knife squishes the bars. Use a chef’s knife and wipe it with a damp cloth between cuts.
- Adjust Sweetness: If you find the bars too sweet, reduce the powdered sugar by 1/4 to 1/2 cup and increase graham cracker crumbs accordingly.
- Store Properly: Keep bars refrigerated in an airtight container with parchment between layers to prevent sticking.
Variations and Customizations: Make It Your Own
One of the best things about No-Bake Peanut Butter Bars is how easily they adapt to different tastes and dietary needs. Here are some creative twists to inspire your next batch:
- Chocolate Lover’s Version: Melt 1 cup of semi-sweet chocolate chips and spread over the top before chilling. Or mix chocolate chips directly into the base.
- Reese’s-Inspired Bars: Layer a chocolate pudding mix into the base or add a thin layer of melted chocolate beneath the peanut butter mixture.
- Oatmeal Peanut Butter Bars: Replace half the graham cracker crumbs with old-fashioned rolled oats for a heartier texture.
- Gluten-Free: Use certified gluten-free graham crackers or a blend of almond flour and gluten-free oats.
- Vegan: Swap butter for coconut oil or vegan butter, and ensure your sugar and graham crackers are plant-based.
- Protein-Packed: Add 1/4 to 1/2 cup of vanilla protein powder. You may need to adjust moisture with a splash of almond milk.
- Nut-Free: Use sunflower seed butter or soy nut butter instead of peanut butter (be mindful of allergies).
- Tropical Twist: Add shredded coconut and chopped dried pineapple for a tropical flair.
- Crunchy Delight: Mix in chopped peanuts, pretzel pieces, or rice cereal for extra crunch.
- Mini Bars: Press the mixture into a mini muffin tin lined with paper liners for bite-sized treats.
You can even turn them into layered desserts—add a marshmallow fluff layer or sandwich two small bars with jam for a PB&J effect!
Health Considerations and Nutritional Value
While No-Bake Peanut Butter Bars are undeniably delicious, it’s important to enjoy them in moderation as part of a balanced diet. Here’s a breakdown of their nutritional profile (per bar, based on 16 servings):
- Calories: ~200–250 kcal
- Fat: 12–15g (mostly from healthy monounsaturated fats in peanut butter and butter)
- Saturated Fat: 4–6g (moderate; consider using reduced-fat butter or coconut oil for a slight improvement)
- Carbohydrates: 25–30g (primarily from sugar and graham crackers)
- Sugars: 18–22g (mostly added sugars from powdered sugar and graham crackers)
- Protein: 4–5g (from peanut butter, offering plant-based protein)
- Fiber: 1–2g (minimal unless using whole grain or high-fiber substitutes)
- Sodium: 100–150mg (varies by peanut butter and butter choice)
Health Notes:
- Peanut butter contains beneficial nutrients like vitamin E, magnesium, and niacin, along with heart-healthy fats.
- However, the high sugar and calorie content means these bars should be considered an occasional treat, especially for individuals managing diabetes, weight, or cardiovascular health.
- To make a healthier version:
- Reduce powdered sugar and add a mashed banana or date paste for natural sweetness.
- Use whole wheat graham crackers or oat flour for more fiber.
- Swap butter for unsweetened applesauce or Greek yogurt (though texture will be softer).
- Include chia seeds or flaxseed meal for omega-3s and extra fiber.
Always consult a healthcare provider or dietitian if you have specific dietary restrictions or medical conditions.
Ingredients
- 1/2 cup (1 stick / 113g) unsalted butter
- 1 1/2 cups (380g) creamy peanut butter (natural or conventional)
- 2 cups (240g) powdered sugar, sifted
- 2 cups (about 12 sheets) graham cracker crumbs
- 1 teaspoon vanilla extract
- 1/4 teaspoon salt (adjust to taste)
- (Optional) 1 cup chocolate chips, for topping
Directions
- Line an 8×8-inch or 9×9-inch baking pan with parchment paper and lightly grease.
- In a saucepan over low heat, melt butter. Remove from heat and stir in peanut butter until smooth.
- Add sifted powdered sugar gradually, mixing until fully incorporated.
- Stir in vanilla extract and salt.
- Fold in graham cracker crumbs until the mixture is well combined and holds together when pressed.
- Transfer to the prepared pan and press firmly and evenly with a greased glass or spatula.
- Refrigerate for at least 2 hours or freeze for 45 minutes until firm.
- If desired, melt chocolate chips and drizzle over the top before slicing.
- Lift out using parchment overhang and cut into bars.
- Store in an airtight container in the refrigerator for up to 2 weeks, or freeze for up to 3 months.
FAQ
Can I make these bars ahead of time?
Yes! These bars actually improve with chilling. Make them 1–2 days in advance and store in the fridge.
Why are my bars too crumbly?
This usually happens if there’s not enough fat or if the mixture wasn’t pressed firmly enough. Try increasing peanut butter by 1–2 tablespoons or adding a bit more melted butter.
Can I use crunchy peanut butter?
Absolutely! Crunchy peanut butter adds a delightful texture. Just be aware it may affect how smoothly the mixture blends.
How long do they last?
Up to 2 weeks in the refrigerator or 3 months in the freezer. Separate layers with parchment to prevent sticking.
Are these bars safe for kids?
Yes, but ensure no peanut allergies are present. Always check school policies regarding nuts before sending them as snacks.
Can I double the recipe?
Yes, but use a 9×13-inch pan for a slightly thinner bar. Double all ingredients and chill longer if needed.
What can I use instead of graham crackers?
Try digestive biscuits, vanilla wafers, shortbread, or even crushed pretzels for a sweet-and-salty kick.
Can I make them without powdered sugar?
It’s challenging, as powdered sugar provides both sweetness and structure. Alternatives include blended dates, maple syrup, or monk fruit sweetener, but expect a softer, stickier texture.
Summary
No-Bake Peanut Butter Bars are a timeless, effortless dessert that combines creamy peanut butter, sweet powdered sugar, and crunchy graham crackers into a rich, satisfying treat—no oven required.
Ready in minutes and endlessly customizable, they’re perfect for any occasion, from casual snacking to holiday gatherings, and loved by kids and adults alike.