No-Bake Oreo Cheesecake Bars: A Decadent Delight for Every Occasion
Introduction
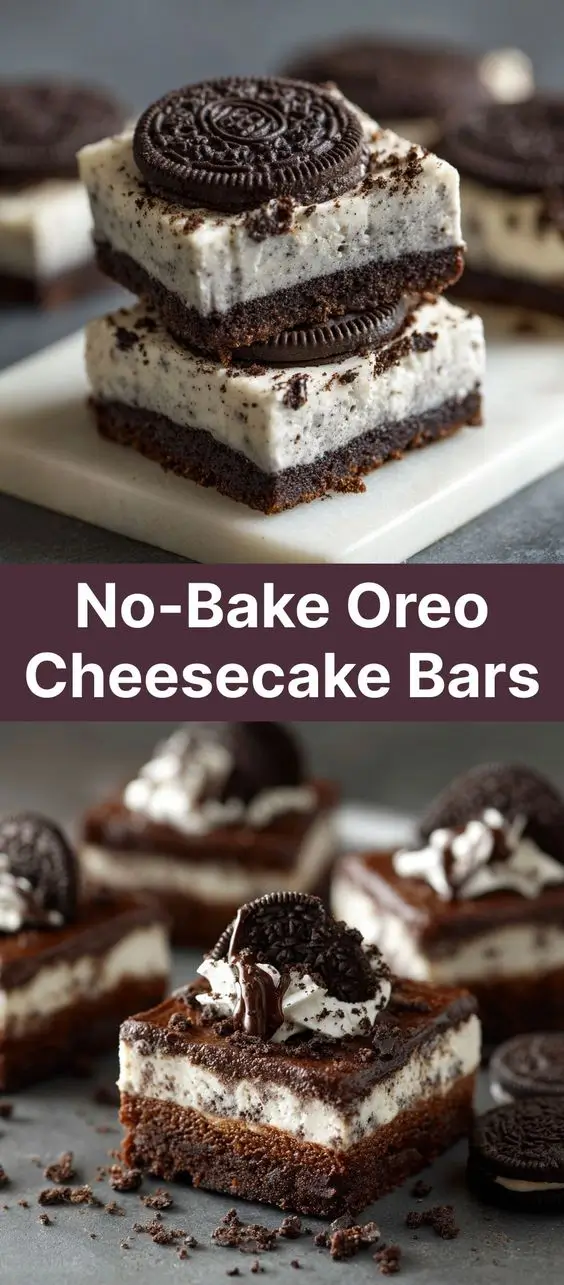
No-Bake Oreo Cheesecake Bars are the ultimate dessert solution for anyone craving something rich, creamy, and satisfying without turning on the oven. These bars combine the beloved crunch of Oreo cookies with a luxuriously smooth cheesecake filling, all layered into convenient squares that are perfect for parties, potlucks, or late-night snacking. Whether you’re a seasoned baker or someone who avoids the kitchen at all costs, this no-fuss recipe is designed to deliver maximum flavor with minimal effort. With their striking appearance, irresistible texture, and crowd-pleasing taste, these bars have become a staple in dessert rotations across homes, schools, and gatherings. In this comprehensive guide, we’ll walk you through everything you need to know—from the origins of this modern classic to ingredient alternatives, nutritional insights, and expert tips—to ensure your No-Bake Oreo Cheesecake Bars turn out perfectly every time.
The History
While traditional cheesecake dates back thousands of years—traced to ancient Greece where it was served to athletes during the first Olympic Games—the concept of no-bake desserts gained popularity in the mid-20th century, especially in American households. The rise of refrigerated ingredients like cream cheese, sweetened condensed milk, and whipped toppings made chilled, set desserts more accessible. Brands like Philadelphia Cream Cheese and Nabisco played pivotal roles in popularizing easy-to-make recipes through cookbooks and marketing campaigns.
Oreo cookies, introduced in 1912 by the National Biscuit Company (now Nabisco), quickly became one of America’s favorite treats. Their distinctive chocolate wafer with a sweet vanilla creme filling made them ideal for creative culinary uses beyond simple snacking. By the 1970s and 80s, recipes combining Oreos with cream cheese and other creamy fillings began appearing in community cookbooks, women’s magazines, and TV cooking segments.
The fusion of Oreo and cheesecake evolved naturally from the popularity of Oreo pie crusts and no-bake cheesecakes. As convenience became a hallmark of modern cooking, the No-Bake Oreo Cheesecake Bar emerged as a portable, sliceable version of the pie—perfect for sharing and storing. Today, it’s a viral sensation online, featured on food blogs, Pinterest boards, and Instagram feeds worldwide, often adorned with chocolate drizzles, fresh berries, or candy sprinkles.
Ingredients Breakdown
The magic of No-Bake Oreo Cheesecake Bars lies in its simplicity and balance between texture and flavor. Here’s a detailed look at each component:
For the Crust:
- Original Oreo Cookies (36–40 cookies): These provide both structure and flavor. The chocolate wafers add richness while the creme filling contributes sweetness and helps bind the crust when crushed and mixed with butter.
- Unsalted Butter (6 tablespoons, melted): Acts as the glue that holds the crust together. Melted butter ensures even distribution and helps the crust firm up when chilled.
For the Cheesecake Filling:
- Cream Cheese (3 (8-oz) packages, softened): The star ingredient. Full-fat cream cheese delivers the richest texture and tangy depth. It must be softened to room temperature for smooth blending.
- Granulated Sugar (¾ cup): Sweetens the filling and balances the slight tartness of the cream cheese.
- Vanilla Extract (2 teaspoons): Enhances overall flavor and adds warmth to the creamy mixture.
- Heavy Whipping Cream (1½ cups): When whipped, it gives the filling a light, airy consistency. It also helps the mixture set firmly in the fridge.
- Powdered Sugar (½ cup): Adds additional sweetness and stabilizes the whipped cream, helping maintain volume.
- Additional Oreo Cookies (15–20, crushed): Folded into the filling for bursts of chocolate and crunch throughout.
Optional Garnishes & Additions:
- Chocolate ganache or melted chocolate drizzle
- Fresh strawberries, raspberries, or blueberries
- Whipped cream rosettes
- Sprinkles or edible glitter for festive occasions
- White chocolate chips or mini chocolate chunks
Step-by-Step Recipe
- Prepare Your Pan: Line a 9×13-inch baking dish with parchment paper, leaving an overhang on two opposite sides. This will make it easier to lift the bars out once set. Lightly grease any exposed pan areas to prevent sticking.
- Make the Crust: Place 36–40 Oreo cookies (with filling intact) into a food processor. Pulse until finely ground into crumbs. Alternatively, place them in a sealed plastic bag and crush with a rolling pin. Transfer the crumbs to a mixing bowl, add 6 tablespoons of melted unsalted butter, and stir until the mixture resembles wet sand.
- Press the Crust: Pour the Oreo crumb mixture into the prepared pan. Use a flat-bottomed glass or measuring cup to press it down into an even, compact layer. Make sure the crust reaches all corners and edges. Place in the refrigerator to chill for at least 15 minutes while you prepare the filling.
- Whip the Cream: In a large mixing bowl, pour 1½ cups of cold heavy whipping cream. Using a hand mixer or stand mixer with a whisk attachment, beat on high speed until soft peaks form (about 3–4 minutes). Gradually add ½ cup powdered sugar and continue beating until stiff peaks form. Set aside.
- Beat the Cream Cheese: In another large bowl, add the softened cream cheese (three 8-ounce blocks). Beat with the mixer until smooth and creamy, about 2 minutes. Scrape down the sides as needed.
- Add Sugar and Flavor: Add ¾ cup granulated sugar and 2 teaspoons of vanilla extract. Beat again until fully incorporated and fluffy, about 1–2 minutes.
- Combine with Whipped Cream: Gently fold the whipped cream into the cream cheese mixture using a spatula. Mix just until no white streaks remain—be careful not to deflate the mixture.
- Incorporate Crushed Oreos: Crush 15–20 additional Oreo cookies into coarse pieces (not too fine—some chunkiness is desirable). Fold them into the cheesecake mixture until evenly distributed.
- Assemble the Bars: Remove the chilled crust from the refrigerator. Pour the cheesecake filling over the crust and spread it into an even layer using the spatula. Smooth the top as much as possible for a clean finish.
- Chill Thoroughly: Cover the pan loosely with plastic wrap and refrigerate for at least 6 hours, preferably overnight. This allows the filling to set completely and develop its full flavor.
- Cut and Serve: Once set, use the parchment overhang to lift the entire slab out of the pan. Place it on a cutting board. Use a sharp knife dipped in hot water and wiped dry between cuts to slice into 12–16 bars for clean edges.
Tips for Success
- Use Room-Temperature Ingredients: Cold cream cheese won’t blend smoothly and can result in lumps. Let it sit out for at least 1–2 hours before starting.
- Don’t Overmix After Adding Whipped Cream: Overmixing deflates the air, making the filling dense. Fold gently until just combined.
- Freeze for Easier Slicing (Optional): For ultra-clean cuts, freeze the bars for 30–45 minutes before slicing. Let them thaw slightly before serving for best texture.
- Prevent Weeping: If condensation forms on the surface after chilling, it may be due to temperature fluctuations. Always cover tightly and avoid placing near strong odors in the fridge.
- Sharp Knife Is Key: A dull knife will drag through the filling. Wipe the blade clean and re-dip in hot water between each cut.
- Chill the Bowl: For better whipped cream results, chill your mixing bowl and beaters in the freezer for 10–15 minutes before whipping the cream.
Variations and Customizations
One of the greatest strengths of this recipe is its versatility. Here are some creative twists you can try:
Flavor Twists:
- Peanut Butter Oreo Bars: Swirl in ½ cup of melted peanut butter or add chopped peanut butter cups.
- Double Chocolate: Use Double Stuf Oreos and mix in melted dark chocolate into the filling.
- Strawberry Swirl: Add swirls of strawberry puree or jam before chilling.
- Cookie Butter Version: Replace some crushed Oreos with Biscoff or Speculoos cookie butter for a spiced, caramelized flavor.
- Mint Oreo Bars: Use mint-flavored Oreos and add a few drops of peppermint extract to the filling.
Dietary Modifications:
- Gluten-Free: Use gluten-free chocolate sandwich cookies (such as Glutino or KinniToos) for both crust and mix-ins.
- Low-Sugar: Use reduced-sugar Oreos and substitute granulated sugar with erythritol or monk fruit sweetener. Opt for sugar-free whipped topping instead of homemade whipped cream.
- Vegan: Use dairy-free cream cheese (like Kite Hill or Miyoko’s), coconut cream instead of heavy cream, and vegan-friendly cookies. Ensure all ingredients are plant-based.
- Lighter Version: Use low-fat cream cheese and Cool Whip instead of homemade whipped cream, though texture and richness will vary.
Occasion-Based Ideas:
- Holiday-Themed: Add red and green sprinkles, use seasonal-colored Oreos, or decorate with themed candies.
- Party Favors: Cut into mini squares and package in clear treat bags tied with ribbon.
- Layered Parfaits: Skip the bar format and layer crumbs and filling in mason jars for individual servings.
Health Considerations and Nutritional Value
While undeniably delicious, No-Bake Oreo Cheesecake Bars are considered an indulgent treat. Here’s a general nutritional breakdown per serving (based on 16 bars):
| Nutrient | Amount (Approximate) |
|---|---|
| Calories | 380–420 |
| Total Fat | 22–26g |
| Saturated Fat | 12–15g |
| Cholesterol | 45–60mg |
| Sodium | 300–350mg |
| Total Carbohydrates | 45–50g |
| Dietary Fiber | 1–2g |
| Sugars | 30–35g |
| Protein | 4–6g |
Health Notes:
- This dessert is high in sugar and saturated fat due to cream cheese, butter, Oreos, and whipped cream. Enjoy in moderation, especially if managing blood sugar, heart health, or weight.
- The recipe contains dairy and gluten, so it’s unsuitable for those with allergies or sensitivities unless modified.
- Portion control is key—these bars are rich, so a little goes a long way.
- Consider pairing with fresh fruit or herbal tea to balance the meal.
Ingredients
Crust:
- 36–40 Original Oreo cookies (with filling)
- 6 tablespoons unsalted butter, melted
Filling:
- 3 (8 oz) packages cream cheese, softened
- ¾ cup granulated sugar
- 2 teaspoons pure vanilla extract
- 1½ cups heavy whipping cream, cold
- ½ cup powdered sugar
- 15–20 additional Oreo cookies, crushed
Optional Toppings:
- Melted chocolate or chocolate ganache
- Fresh berries
- Whipped cream
- Sprinkles
Directions
- Line a 9×13-inch baking dish with parchment paper and lightly grease the sides.
- Crush 36–40 Oreo cookies into fine crumbs using a food processor or rolling pin.
- Mix crumbs with melted butter until well combined.
- Press mixture firmly into the bottom of the pan to form an even crust.
- Refrigerate crust for 15 minutes.
- In a large bowl, beat cold heavy cream and powdered sugar until stiff peaks form. Set aside.
- In another bowl, beat softened cream cheese, granulated sugar, and vanilla extract until smooth and creamy.
- Gently fold whipped cream into cream cheese mixture until uniform.
- Fold in 15–20 crushed Oreo cookies.
- Spread filling over chilled crust and smooth the top.
- Cover and refrigerate for at least 6 hours or overnight.
- Use parchment overhang to lift bars out. Slice into squares with a hot, clean knife.
- Garnish as desired and serve chilled.
FAQ
- How long do No-Bake Oreo Cheesecake Bars last?
- They can be stored in an airtight container in the refrigerator for up to 5 days. For longer storage, freeze for up to 2 months.
- Can I freeze these bars?
- Yes! Wrap individual bars in plastic wrap and store in a freezer-safe container. Thaw in the fridge for 2–3 hours before serving.
- Why is my filling runny?
- This could happen if the cream wasn’t whipped enough, the cream cheese was too cold, or the bars weren’t chilled long enough. Always chill for at least 6 hours.
- Can I use whipped topping instead of heavy cream?
- Yes, substitute 3 cups of thawed frozen whipped topping (like Cool Whip) for the whipped cream and powdered sugar. The texture will be lighter but less rich.
- Can I make these ahead of time?
- Absolutely! These bars are ideal for making 1–2 days in advance. They actually taste better after chilling longer.
- Are there egg-free versions?
- Yes, this recipe is naturally egg-free, making it safe for those with egg allergies.
- Can I use other cookies?
- Yes! Try chocolate graham crackers, Golden Oreos, Nutter Butters, or chocolate wafers depending on your flavor preference.
Summary
No-Bake Oreo Cheesecake Bars are a creamy, crunchy, and irresistibly sweet dessert that requires no oven and minimal prep time. Perfect for any occasion, they deliver big flavor in every bite and can be customized to suit various tastes and dietary needs.